
Markups | Radius

Create
Select "Radius" button:
 . Several modes of
creation is possible and choice should be configured via
Tool Inspector panel.
. Several modes of
creation is possible and choice should be configured via
Tool Inspector panel.
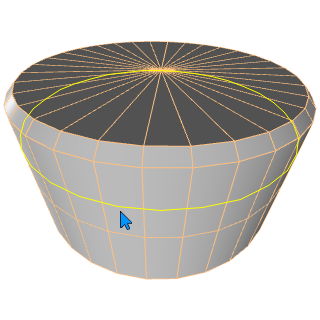
Automatic mode
In this mode just move mouse over cylindrical surface and in case if such surface has been detected, circle will be displayed. To create measurement object, just click left mouse button.
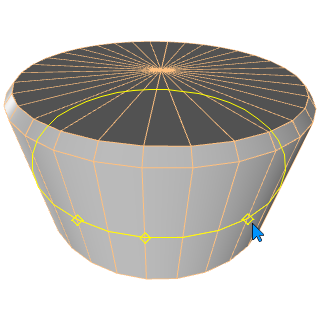
3 Point on Surface of rotation
Click 3 times on surface and create measurement object. After selecting two points, preliminary circle will be displayed. Move mouse on top of surface to adjust circle. Click third time to create measurement. Several snapping modes are possible here. For instance in case of snapping to object pivot point you may measure radius formed by objects. When snapping is enabled measure will be much more precise.
3 Edges on Surface of rotation
Click 3 times on edges to create measurement object. After selecting 2 edges, and moving on top of 3rd edge, preliminary circle will be displayed. Click third time to create measurement.

Center line and any point on surface
Center line may be part of object as on image below or represented by spline or center line. Firstly select center line and point (vertex) after that. Several snapping modes are possible selecting point on surface.

Orientation and length of lines, position of text may be changed later by dragging markers or changing properties.
Properties
See Also